monday.com Workload View Setup: Step-by-Step Guide
Stop guessing who’s overloaded. Here’s how to set up capacity planning that actually reflects reality.
The monday.com workload view setup is one of the most requested features we help teams configure, and one of the most frequently misconfigured. When it works, you get instant visibility into who has capacity and who’s drowning. When it doesn’t, you get misleading bubbles that nobody trusts.
We’re FlowFam, certified monday.com consultants, and we’ve set up Workload views for dozens of teams across project management, HR, and operations. This guide covers exactly how to do it right: the board prerequisites, the configuration steps, and the fixes for the five problems that trip up almost every team.
📋 What’s in This Guide
📋 Board Prerequisites Before You Start
The Workload view is available on Pro and Enterprise plans only. If you’re on Standard or below, you won’t see the option. That’s the first thing to verify.
Before you add the view, your board needs three things in place. Skip any of these and the Workload view will either show nothing useful or give you misleading data.
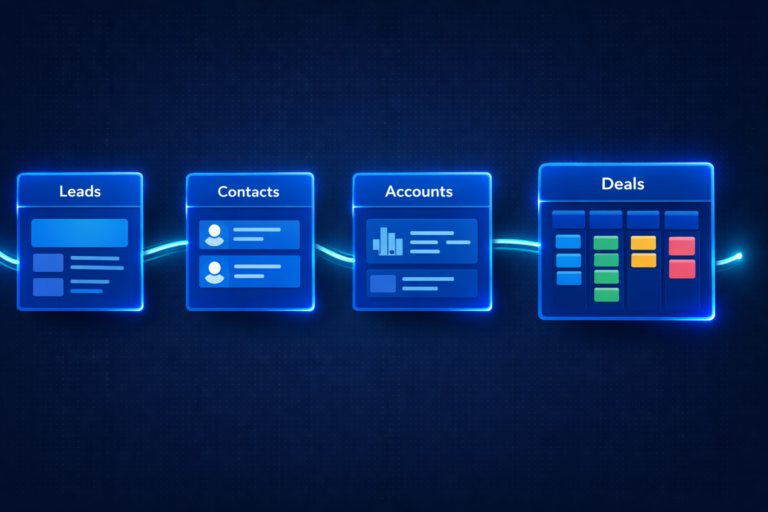
People Column (Required)
The Workload view uses a People Column to determine who is assigned to each item. Every item you want visible in the workload must have at least one person assigned. Items without a person assigned will not appear.
If your board uses a dropdown or text column for assignments instead, the Workload view won’t recognize it. You’ll need to switch to a People Column or add one alongside your existing setup.
Numbers Column for Time Estimates (Recommended)
Without a Numbers Column for effort, the Workload view defaults to counting items. That means a 30-minute email task and a 40-hour project deliverable look identical. Not helpful.
Add a Numbers Column and label it something clear like “Estimated Hours” or “Effort (hrs).” Set the unit to hours in the column footer. Fill this in for every active item. This is the column that transforms workload from “item count” into actual capacity planning.
Timeline or Date Column (Recommended)
The Workload view plots assignments across a calendar. If your items don’t have dates, everything piles into a single undated bucket. Add a Timeline Column for tasks with a start and end date, or a Date Column for single-day items.
Items without dates will still appear in the view, but they won’t distribute across the calendar correctly. For accurate weekly or monthly capacity views, dates are essential.
🎯 How to Add the Workload View to Your Board
Once your columns are ready, adding the view takes about two minutes.
Click the “+” icon at the top of your board, next to your existing views (like Main Table, Kanban, etc.). Select “More views” from the dropdown, then choose “Workload” from the view gallery.
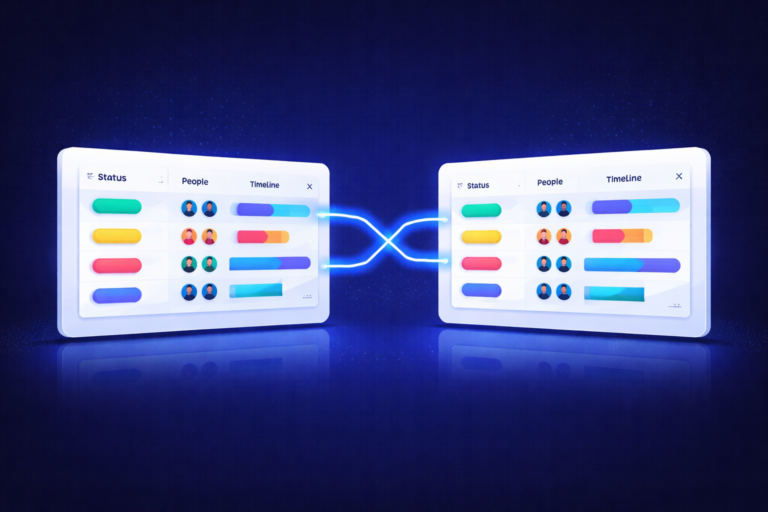
The view will appear immediately with default settings. You’ll see team members listed on the left axis and a calendar timeline across the top. Colored bubbles indicate how much effort each person has assigned during each time period.
The bubble colors tell you everything at a glance. Green means under capacity. Yellow means approaching capacity. Red means over capacity. If you see grey bubbles, that usually means capacity hasn’t been configured yet.
Choosing Your Resource Type
In the Workload view settings (gear icon, top right), look for “Resource type.” Select your People Column here. This tells the view which column to use for determining assignments.
If your board has multiple People Columns (like “Owner” and “Reviewer”), you can only pick one per Workload view. If you need to track both, create two separate Workload views on the same board.
⚙️ Configuring Effort and Capacity Settings
This is where most teams go wrong. The Workload view has two core settings that must work together: Effort (how much work each item represents) and Capacity (how much work each person can handle).
Effort: Count Items vs. Effort Column
In the settings panel, under “Effort”, you’ll see two options:
Count items simply counts how many items are assigned. This works for teams where every task is roughly the same size. But for most project teams, item count is misleading.
Effort lets you select a Numbers Column to measure real workload. This is what we recommend for any team doing project work, consulting delivery, or operations management.
Capacity: Work Schedule vs. Custom
Under “Capacity”, you have two modes:
Work Schedule pulls capacity automatically from the user’s configured work schedule in monday.com. If your team has set up their working hours under their profile (Admin > Users), this mode calculates available hours per day automatically. It also respects days off and holidays.
Custom lets you set a flat number for weekly capacity across all users. This is simpler but less accurate for teams with varied schedules.
📊 Setting Up Multi-Board Workload on a Dashboard
A single-board Workload view only shows work from that one board. For most teams, work is spread across multiple boards. That’s where the Dashboard Workload Widget comes in.
Create a new dashboard (or open an existing one). Click “Add Widget” and select “Workload” from the widget gallery. Then connect the boards you want to include.
You can connect up to 50 boards to a single Workload Widget. Select the People Column and the effort column from each board.
This dashboard-level view is the real power feature. It gives managers a single screen showing every team member’s total workload across all projects.
Need Help Getting Your Workload View Right?
We configure capacity planning for teams every week. Book a free discovery call and we’ll walk through your setup.
Book a Free Discovery Call🔥 5 Common monday.com Workload View Problems (and How to Fix Each One)
🚫 Problem 1: Subitems Don’t Appear in the Workload View
This is the single most reported issue. If your team tracks tasks as subitems, those assignments and time estimates are invisible to the Workload view.
Fix: Restructure so all trackable work lives at the item level, or add Mirror Columns on parent items that pull time estimates from subitems and use a Formula Column to sum them. We’ve covered subitem limitations in our post about subitems not showing in dashboards.
🚫 Problem 2: Completed Tasks Still Count Toward Workload
By default, every item with a person assigned and a date range appears in the Workload view, including finished items.
Fix: Add a Status Column filter in the Workload view settings to exclude items marked “Done.”
🚫 Problem 3: Capacity Shows Everyone as Over-Allocated
Every person shows a red bubble. Either your team is drowning, or the capacity settings are wrong.
Fix: If using “Work Schedule” mode, verify that work schedules are configured under Admin > Users. If using “Custom” mode, ensure the weekly hours number is realistic (40, not 8).
🚫 Problem 4: Workload Widget on Dashboard Shows No Data
You connected boards but the widget is empty.
Fix: Connected boards need a People Column AND items with dates. Check that columns are mapped correctly for each board.
🚫 Problem 5: Team Capacity Doesn’t Multiply for Groups
Assigning to a team shows per-person capacity instead of team-wide capacity.
Fix: Assign items to individual people. For team-level capacity, use the Enterprise Resource Management feature.
✅ Best Practices From Real Implementations
After configuring the monday.com workload view setup for dozens of teams through our Partner on Demand service, we’ve landed on patterns that consistently work well.
Standardize your effort unit across all boards. Pick one unit (we recommend hours) and enforce it everywhere.
Set a team-wide convention for time estimates. Run a calibration exercise with sample tasks to establish baselines.
Review workload weekly, not daily. We recommend a Monday morning workload review as part of standup.
Use automations to flag overload. Set up a monday.com automation to notify managers when hours exceed a threshold.
Create separate views for different managers. Build views with different filters for project managers vs department heads.
❓ Frequently Asked Questions
Let Us Set Up Your Workload View the Right Way
We’re certified monday.com consultants who do this every week. Book a free discovery call.
Book a Free Discovery Call